How to Use At Home Laser Hair Removal for Best Results
At-home laser hair removal is safest when you treat it like a light-based skin device, not a faster razor. Check your skin tone, hair color, treatment area, and recent sun exposure first; then shave, use the recommended setting, work slowly, and stop if your skin feels more than mildly warm or irritated.

Before using at-home laser hair removal
The first decision is not which button to press. It is whether your skin, hair, and treatment area are suitable for the device you own. Home laser and IPL devices depend on contrast between hair pigment and surrounding skin, so the wrong match can mean poor results or a higher risk of irritation, burns, or dark marks.
Check your skin and hair compatibility
Most at-home laser and IPL devices work best on darker hair because the light targets pigment in the follicle. White, grey, very light blonde, and red hair often respond poorly because there may not be enough pigment for the device to target.
Skin tone is just as important. Some devices are designed only for lighter to medium skin tones, while others have broader skin-tone sensors or settings. Do not judge by product photos or someone else's results; compare your own skin and hair with the manufacturer's chart in normal lighting before you treat.
Check your treatment area
Legs and arms are usually the easiest areas to start with because they are visible and easier to cover evenly. Underarms, bikini line, and face need more care because the skin is curved, sensitive, or closer to areas that should not be treated.
A useful rule: if the manual does not clearly approve that exact zone, do not treat it. "Bikini line" does not mean internal intimate tissue, and "face" does not mean eyelids, brows, or anywhere close to the eyes unless the device is specifically made for it.
Check for recent tanning or irritation
Do not use the device on recently tanned, sunburned, peeling, or self-tanned skin. Extra pigment in the skin can absorb more light, which may increase discomfort and the chance of pigmentation changes.
Also postpone treatment if you have cuts, razor burn, eczema flare-ups, inflamed ingrown hairs, active rashes, or skin that feels unusually sensitive from retinoids, acids, or harsh exfoliation. If you are treating in summer or after a sunny holiday, this check matters more than sticking to your calendar.
Complete the recommended skin test
Patch test a small area using the setting your manual recommends, then wait the listed amount of time before treating the full zone. Mild temporary pinkness can happen, but sharp pain, blistering, swelling, or redness that hangs around is a sign to stop and reassess.

How to prep your skin for treatment
Good prep makes the session more comfortable and helps the light reach the follicle instead of being wasted on surface hair, lotion, deodorant, or damp skin. Keep this step simple: shave as directed, wash the area, dry it fully, and remove anything that leaves a film.
Remove visible hair as directed
Shaving is usually the right prep method because it removes hair above the skin while leaving the root in place. Many devices suggest shaving the day before or several hours before treatment, but follow your own manual if it gives a different timing.
Avoid waxing, plucking, threading, or epilating before a session because those methods remove the hair root. Without the root, the light has much less to target. If the hair is long, trim it first so shaving is easier and less irritating.
Start with clean, dry skin
Wash the area and dry it completely before you begin. Damp or slippery skin can affect how well the device sits against the skin, and freshly hot skin from a shower may feel more sensitive. If you treat underarms or bikini line, giving the skin a few extra minutes to cool down can make a noticeable difference.
Remove skincare and body products
Take off lotion, body oil, sunscreen, deodorant, perfume, fake tan, and heavy creams from the treatment area. This is easy to forget on underarms and legs, where product residue can still be there hours later.
How to use an at-home laser hair removal device
Once your skin is ready, the main goal is controlled, even coverage. Rushing, using the highest setting too soon, or flashing the same spot repeatedly is more likely to irritate your skin than improve your results.
Choose the recommended intensity
Use the setting recommended for your skin tone and treatment area. If your device has an automatic sensor, let it guide the intensity. If the setting is manual, start conservatively until you know how your skin reacts.
Hold the window flat against your skin
Place the treatment window fully against the skin before each flash. Partial contact can cause missed patches, uneven energy delivery, or no flash at all if your device has a contact sensor.
On curved areas, use your free hand to gently stretch the skin so the window sits flat. This is especially helpful for underarms and the outer bikini line.
Flash small areas one spot at a time
Use single-flash mode for areas where precision matters: upper lip, chin, underarms, fingers, toes, and bikini line. Place, flash, move to the next adjacent spot, and stay inside the approved boundary.
Do not keep flashing one patch because you want faster results. Repeated heat on the same small area is one of the easiest ways to make skin angry.
Glide over larger areas if supported
If your device has glide mode, it can make legs and arms quicker. Move in steady rows rather than random passes. Too fast can leave gaps; too slow can overheat small sections.
For example, treat the lower leg from ankle to knee in narrow strips, then move to the next section. That kind of boring pattern is actually useful because it prevents missed islands of hair later.
Cover the area without unnecessary overlap
Aim for edge-to-edge coverage with only slight overlap if your manual allows it. Work around tattoos, dark moles, birthmarks, and heavily pigmented spots unless your device gives specific instructions for them.
- Better: slow rows, small sections, and one pass per spot.
- Riskier: random flashing, heavy overlap, and treating over dark pigment.
- Worth doing: pause when you lose track instead of guessing where you already flashed.
Clean the device after treatment
Turn the device off and clean the treatment window exactly as the manual allows. A soft dry cloth is common, though some brands permit a slightly damp cloth. Keeping the window clear helps prevent residue from affecting later sessions.
Which areas can you treat at home?
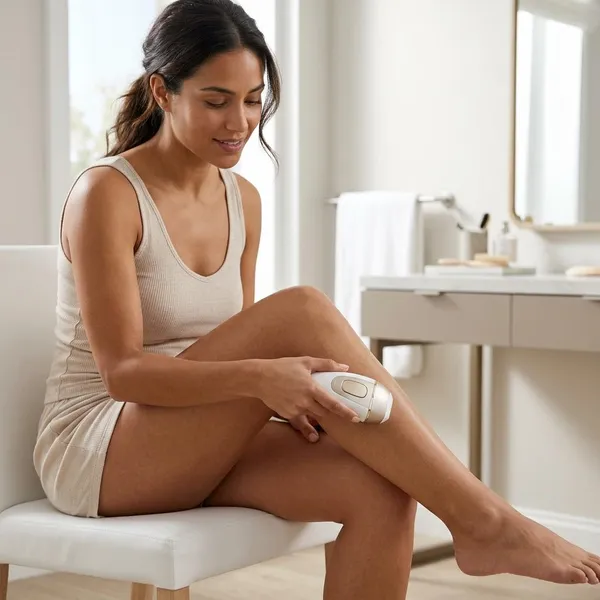
Common at-home treatment areas include legs, arms, underarms, bikini line, and some facial zones, but only when your device approves them. The same device can be suitable for one body part and unsuitable for another, so treat area limits as safety rules rather than suggestions.
Legs and arms if approved
Legs and arms are usually the most beginner-friendly areas. The surface is easier to see, glide mode is often useful, and it is simpler to keep a regular pattern. If you mainly want to reduce daily shaving, lower legs are a practical place to start.
Underarms if approved
Underarms often respond well because the hair is usually darker and coarser, but the area can feel more intense than legs. Remove deodorant, lift your arm fully, and gently stretch the skin so the window can sit flat.
Bikini area within device limits
The outer bikini line may be approved, but internal genital tissue should not be treated unless your device explicitly says otherwise, which many home devices do not. Use single flashes, avoid freshly nicked skin, and stop if the sensation feels sharp rather than warm or snappy.
Face only in approved zones
Facial use depends entirely on the device. Approved zones may include the upper lip, chin, jawline, or sideburn area below the cheekbone. Do not treat eyelids, brows, or close to the eyes unless the device is specifically designed for that use.
If you use retinoids, exfoliating acids, acne treatments, or peels, plan facial sessions more carefully. Facial irritation is harder to hide, and hormonally influenced facial hair may need more regular maintenance than legs or arms.
How often to use at-home laser hair removal
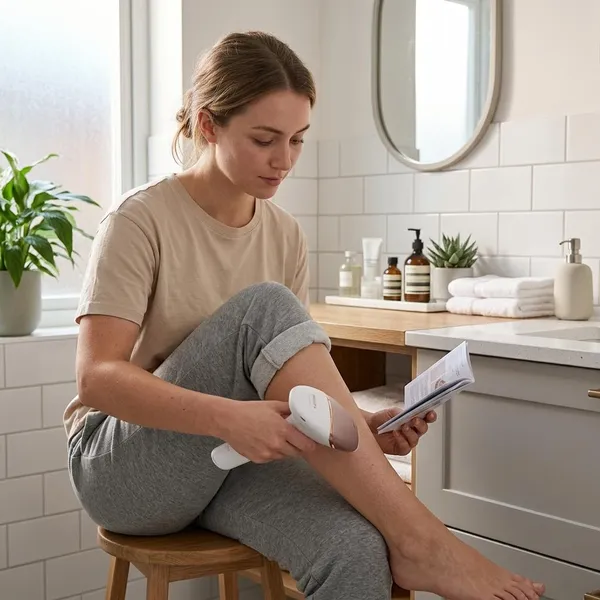
Use your device on the schedule in its manual, not whenever you notice stubble. Hair grows in cycles, so regular spacing matters more than treating aggressively. Too many sessions too close together can irritate your skin without giving better reduction.
Follow the starter schedule
Most devices have a starter phase with regular sessions over several weeks, but the exact timing varies by brand and device type. Put those dates in your calendar before you begin, because random treatment is one of the most common reasons people feel disappointed.
If your life is busy, split areas across different days: legs one evening, underarms another, bikini line when you have time to go slowly. That is usually better than rushing through a full-body session and missing patches.
Keep treatments evenly spaced
Try to stay close to the recommended interval. Being a day or two late is usually less of a problem than doubling up because you forgot. If your skin is still red, sore, or irritated when the next session is due, wait.
Move to maintenance as directed
After the starter phase, many people move to occasional maintenance sessions. The pattern may differ by body area: legs may need less frequent touch-ups, while the face or hormone-influenced areas may need more ongoing attention.

How to care for your skin after treatment
Aftercare should be calm and minimal. The skin may feel warm, pink, or slightly sensitive, especially after underarm, bikini, or facial sessions. Avoid adding heat, friction, sun, or strong skincare while it settles.
Keep irritated skin cool
Use a cool compress for a few minutes if the area feels hot or tight. A light, fragrance-free moisturizer or plain aloe gel may help if your skin tolerates it. Avoid heavy occlusive products right after treatment if they seem to trap heat.
Loose clothing can also make a difference after underarm or bikini sessions. If you notice blistering, strong swelling, severe pain, or worsening redness, stop using the device and seek medical advice before treating again.
Avoid products that cause irritation
Skip scrubs, exfoliating acids, retinoids, strong deodorants, perfume, and heavily fragranced body products on the treated area until it feels normal. For facial treatments, it is often easier to plan a simple skincare night rather than trying to combine light treatment with active products.
Protect treated skin from excess sun
Keep treated skin out of strong sun for the period recommended by your device, and use broad-spectrum sunscreen on exposed areas. Sun protection also helps keep your skin tone more stable between sessions, which can make future treatments safer and more predictable.
Wait for irritation to settle before retreating
Do not treat skin that is still red, sore, itchy, swollen, or visibly irritated. Waiting another day or two is usually smarter than forcing a session and then needing a much longer break.

Conclusion
The safest routine is the one you can repeat without irritating your skin: confirm compatibility, shave instead of waxing, treat only approved areas, use the recommended setting, and keep sessions evenly spaced. If you are unsure, start with an easier area like the lower legs before moving to sensitive zones; careful, consistent use is far more useful than rushing with a high setting.
FAQS
Can you wax before at-home laser hair removal?
No. Waxing removes the root the device needs to target. Wait until enough hair has regrown, then shave as directed before starting again.
Can you use at-home laser hair removal over tattoos?
No. Tattoo ink can absorb the light and increase the risk of burns, pain, or discoloration. Work around tattoos and other dark pigmented marks unless your device gives specific safe-use instructions.
What should you do if your skin reacts after treatment?
Stop, cool the area, and avoid heat, sun, and irritating products. If the reaction is severe, blistering, worsening, or not settling, contact a doctor or dermatologist before using the device again.
Do you need eye protection for at-home laser hair removal?
Follow your device instructions. Some models rely on contact sensors, while others include or recommend eyewear; either way, never look directly at the flash or use the device near your eyes unless it is approved for that area.