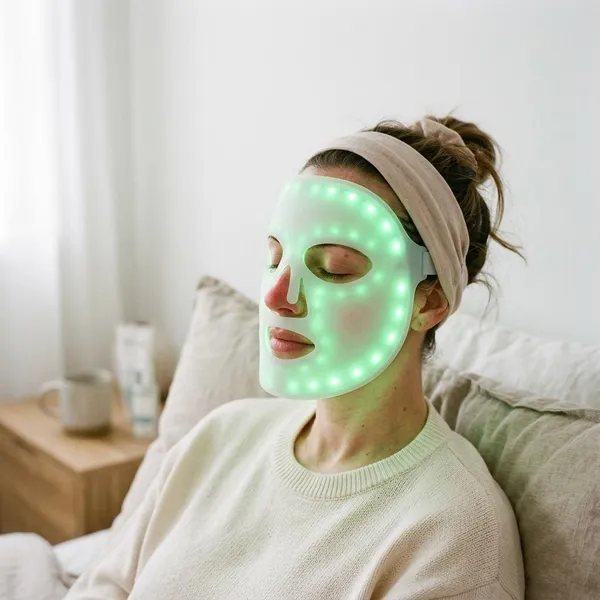
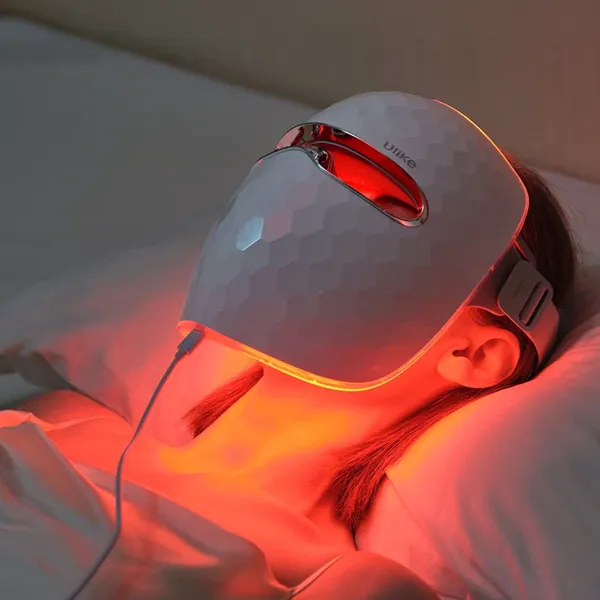
How to Use LED Face Mask Devices at Home
If you want to know how to use led face mask treatments at home, keep the routine simple: clean skin, correct mode, recommended timing, and gentle skincare afterward. The biggest mistake is treating the mask like a "more is better" tool. It works best when you use it consistently within your device's instructions and stop adjusting everything in your skincare routine at the same time.
Before using an LED face mask
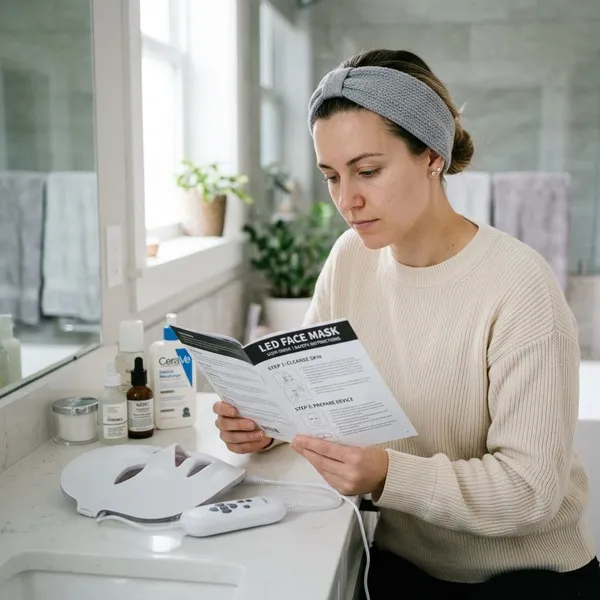
Before you switch the mask on, check three things first: your skin is bare and dry, your products are not likely to make your skin extra reactive, and your eyes are protected the way the device brand recommends. Those checks matter more than choosing a fancy mode or trying to stretch the session longer.
If your skin is calm and you are using a basic routine, LED is usually easy to fit in. If you are using prescription acne treatments, strong exfoliants, retinoids, or medication linked with light sensitivity, be more cautious and check the device guidance or ask a professional before starting.
Start with clean dry skin
Wash your face with a gentle cleanser and pat it fully dry before using the mask. Bare, dry skin helps the light reach the skin more directly and keeps the mask from sliding around during the session.
Skip harsh scrubs right before LED, especially if your skin already feels warm, tight, or irritated. After a hot shower or workout, wait until your face feels normal again before putting the mask on.
Remove makeup and sunscreen
Makeup, tinted SPF, water-resistant sunscreen, primer, and heavy creams should come off first. Even a thin leftover layer around the nose, brows, jawline, or hairline can transfer onto the mask and create residue over time.
Check skincare and medication warnings
Read the warnings for both your device and your current skincare routine before your first session. Be careful if you use retinoids, strong acids, benzoyl peroxide, prescription acne products, or anything that already makes your skin peel or sting.
- Lower-risk situation: your skin is calm, your routine is simple, and you are not using photosensitizing medication.
- More cautious situation: you are on prescription skincare, your skin barrier is irritated, or you have a light-sensitive condition.
- Pause and ask first: you have an eye condition, a medical skin condition, or medication warnings that mention light sensitivity.
Use the recommended eye protection
Use the eye shields, inserts, goggles, or eye-closure instructions that came with your mask. If the light feels too bright or uncomfortable, stop and adjust the fit instead of forcing yourself through the session.
How to use an LED face mask
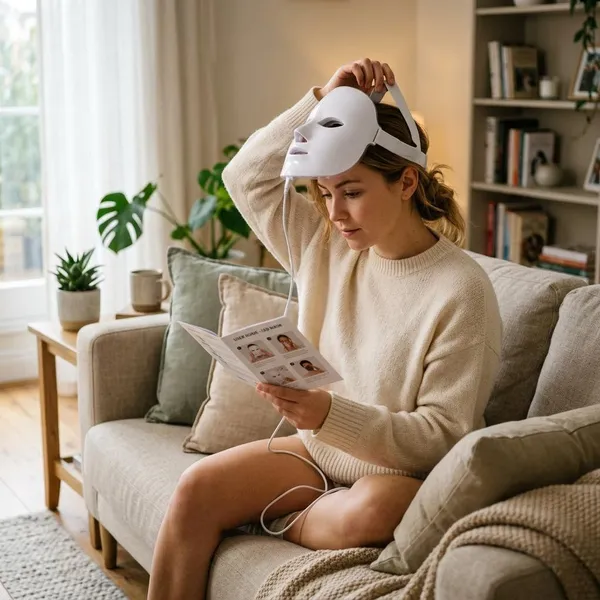
The routine should feel repeatable, not complicated. A good first session is not the longest session; it is the one where you follow the manual, notice how your skin reacts, and finish without irritation.
Fit the mask comfortably
The mask should feel secure, but not tight. If it digs into your nose, presses hard into your cheeks, or lets light shine directly into your eyes, adjust the straps or reposition it before starting.
Flexible silicone masks usually need smoothing against the face, while hard-shell masks depend more on lining up the eye, nose, and mouth openings. A comfortable fit matters because a mask you hate wearing will not become a consistent habit.
Choose the right light mode
Pick the mode by skin concern, not by color preference. Red is usually chosen for visible aging and overall skin tone, blue for acne-prone skin, and near-infrared for deeper support when the device includes it.
Follow the recommended treatment time
Use the treatment length set by your device, especially at the beginning. Many home masks run for about 10 to 20 minutes, but the safest number is the one given for your exact model.
More time does not mean better results. If your skin is sensitive, it is usually smarter to begin at the conservative end of the instructions rather than trying to "boost" the treatment.
Complete the full session
Let the timer finish unless you feel stinging, pain, unusual heat, or eye discomfort. Partial sessions once in a while are not a disaster, but regular stop-start use makes it harder to judge results.
For everyday life, pair the mask with something low-effort: sitting on the sofa, listening to a podcast, or lying down before your evening skincare. If the setup feels annoying, you are less likely to keep doing it.
Apply skincare afterward
After LED, use a simple hydrating serum, moisturizer, or barrier-supporting cream. Save strong actives for another time until you know your skin tolerates the mask well.
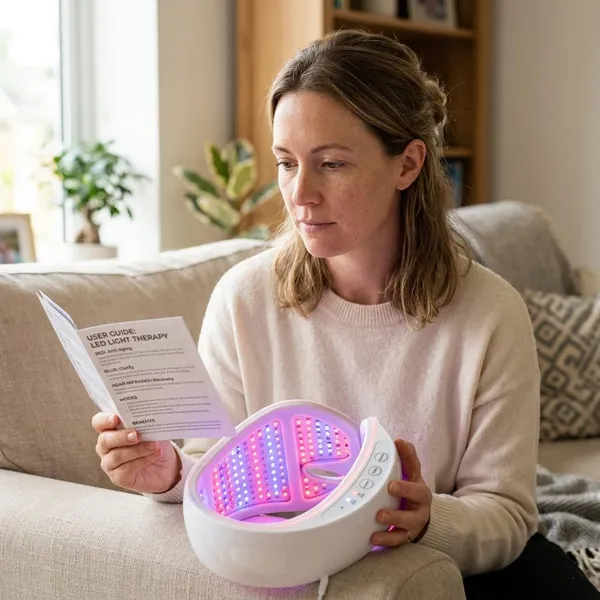
Which LED light mode should you use
Your best mode is the one that matches your main concern. If you are mainly dealing with breakouts, start differently than someone using the mask for fine lines or dullness.
Red light for signs of aging
Red light is the usual starting point for fine lines, dullness, rough texture, or a slightly less firm look. Think of it as a consistency tool rather than an overnight fix.
This mode suits someone who wants a low-effort maintenance habit alongside sunscreen and moisturizer. It will not replace procedures or prescription skincare, but it can fit well into a gentle routine.
Blue light for acne-prone skin
Blue light is commonly used for acne-prone skin, especially when the concern is mild inflamed pimples. It is less likely to be enough on its own for deep cystic acne, stubborn clogged pores, or acne that is leaving marks.
If you already use benzoyl peroxide, acids, or prescription acne products, do not add everything on the same night at first. Keep the routine simple so you can tell whether your skin is improving or becoming irritated.
Near-infrared for deeper skin support
Near-infrared may not look as bright as visible red or blue light, but that does not mean it is inactive. Many devices pair it with red light for broader skin support, so follow the mode description in your manual rather than judging by what you can see.
Combination modes for multiple concerns
Combination modes can be useful if your mask is built for them. They make the most sense for someone who has, for example, both occasional breakouts and early aging concerns.
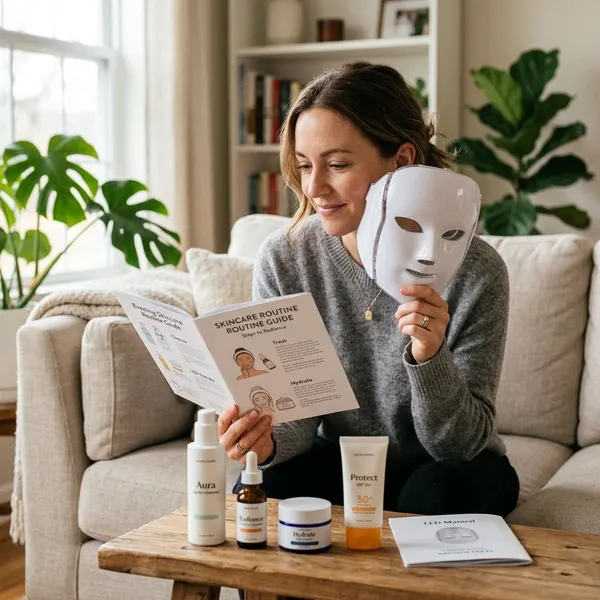
When to use LED in your skincare routine
LED usually fits after cleansing and before leave-on skincare. That order keeps the skin bare for treatment and helps prevent serums, oils, or sunscreen from building up inside the mask.
Evening is often easier because you are less rushed and can finish with moisturizer. Morning use can work too, but sunscreen still matters if you are going outside.
Use LED before serums and moisturizers
A simple order is: cleanse, dry, LED, serum, moisturizer. This keeps the treatment step separate from the products that are meant to stay on your skin.
Keep pre-treatment skincare simple
Before LED, simple is better. You usually do not need toner, essence, oil, or treatment products under the mask unless your device brand clearly says otherwise.
This is especially helpful for sensitive skin. If you use a strong exfoliant and then LED and then a retinoid, you will not know which step caused redness if your skin reacts.
Apply gentle skincare afterward
After the session, choose comfort over intensity. Hydrating ingredients such as glycerin, hyaluronic acid, panthenol, or a plain moisturizer are usually easier to tolerate than a stack of strong actives.
Use sunscreen during the day
Sunscreen is still non-negotiable during the day. LED does not replace UV protection, and sun exposure can work against goals like smoother texture, more even tone, and fewer visible signs of aging.
If you are using LED for long-term skin improvement, sunscreen is the habit that protects the effort. This matters whether your LED sessions happen in the morning or at night.
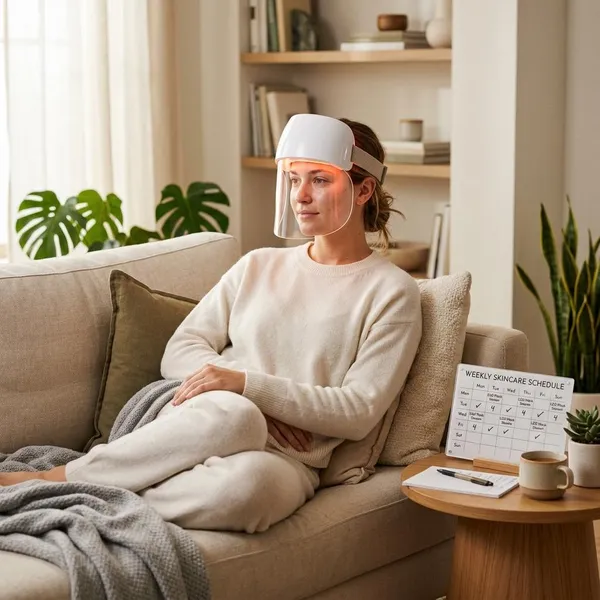
How often to use an LED face mask
Frequency depends on the device and your skin tolerance. Some masks are designed for short daily use, while others are meant for a few sessions per week, so start with the schedule given for your model.
Follow your device schedule
Use the brand's timing and frequency rather than copying a routine from another mask. If your device has an app, built-in timer, or automatic shutoff, treat that as part of the instructions, not a suggestion.
Keep sessions consistent
Choose a schedule that fits your real week. Three evenings after cleansing may be better than planning daily sessions and quitting after four days.
- Busy schedule: attach LED to an existing evening habit.
- Sensitive skin: start with fewer sessions and watch for delayed redness.
- Long-term goal: take a quick photo every few weeks in similar lighting.
Avoid adding extra treatments
Do not introduce LED at the same time as a new retinoid, peel, acne treatment, scrub, or device. If your skin improves or reacts, you need to know what changed.
Adjust if irritation develops
Stop or reduce use if you notice lasting redness, stinging, pain, unusual dryness, rash-like bumps, or eye discomfort. Mild warmth can happen with some devices, but discomfort that continues after the session is a warning sign.
When restarting, lower the frequency first and simplify the rest of your skincare. If irritation keeps returning, ask a dermatologist before continuing.
How to clean and store your LED mask
Cleaning is not just about keeping the device neat. The inside of the mask touches skin oil, sweat, sunscreen residue, and moisturizer residue, so poor maintenance can make the next session feel less hygienic.
Good storage also makes consistency easier. A clean, charged mask in a predictable place is more likely to be used than one left in a humid bathroom drawer with a dead battery.
Clean it after each use
After each session, wipe the areas that touched your face using the cleaning method approved by the manufacturer. For many masks, that means a soft damp cloth or a specific type of wipe, but not soaking or spraying the device heavily.
Keep the LEDs free of residue
Check around the LED areas, seams, and curved parts where product can collect. If you see film or buildup, clean it gently before the next session so the mask stays comfortable and hygienic.
Store it in a dry place
Store the mask somewhere clean and dry, away from steam and splashes. A bedroom drawer, shelf, case, or stand is usually better than a humid bathroom counter.
Flexible masks should not be crushed under heavier items. Hard-shell masks also need protection from drops, scratches, and pressure on the straps or eye area.
Follow the charging instructions
Use the charger and charging schedule recommended for your device. Random cables or adapters may not be suitable, and a low battery can cut a session short just when you finally made time for it.
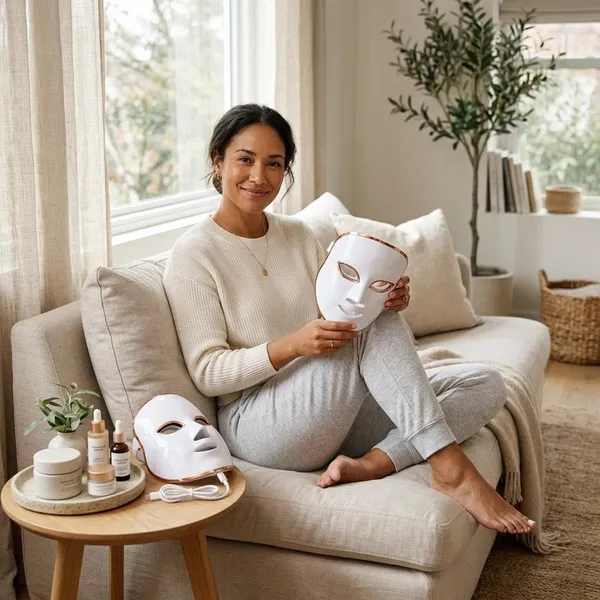
Conclusion
An LED face mask is easiest to use well when you keep the routine calm and repeatable: bare skin first, one sensible mode, the right treatment time, and gentle skincare after. Start with the safest version of the routine, especially if your skin is reactive, and only adjust once you know how your skin responds. The best sign that your plan is working is not a dramatic first session, but a schedule you can follow without irritation or guesswork.
FAQS
Should you use an LED mask before or after skincare?
Use it before leave-on skincare. Cleanse, dry your face, do the LED session, then apply serum or moisturizer so products do not sit between the light and your skin.
How long should you wear an LED face mask?
Use the time recommended for your specific mask. Many home devices are around 10 to 20 minutes, but extending the session on your own is not a shortcut to better results.
Can you use an LED face mask every day?
Only if your device is designed for daily use and your skin tolerates it. If redness, stinging, or dryness appears, reduce frequency instead of pushing through.
Can you use multiple light modes in one session?
Yes, if your mask includes a combination mode or the instructions allow it. If you are new to the device, start with one main mode first so results and reactions are easier to track.
How long does it take to see LED mask results?
Expect gradual changes rather than instant results. Many people judge progress after several weeks of consistent use, using similar lighting or photos to compare more fairly.